Run the quickstart
All you’ll need to get going is a code editor and a terminal! When you’re ready, clone the official XMTP React quickstart, which ships with Dynamic:npm i && npm run dev to install the dependancies and start the app.
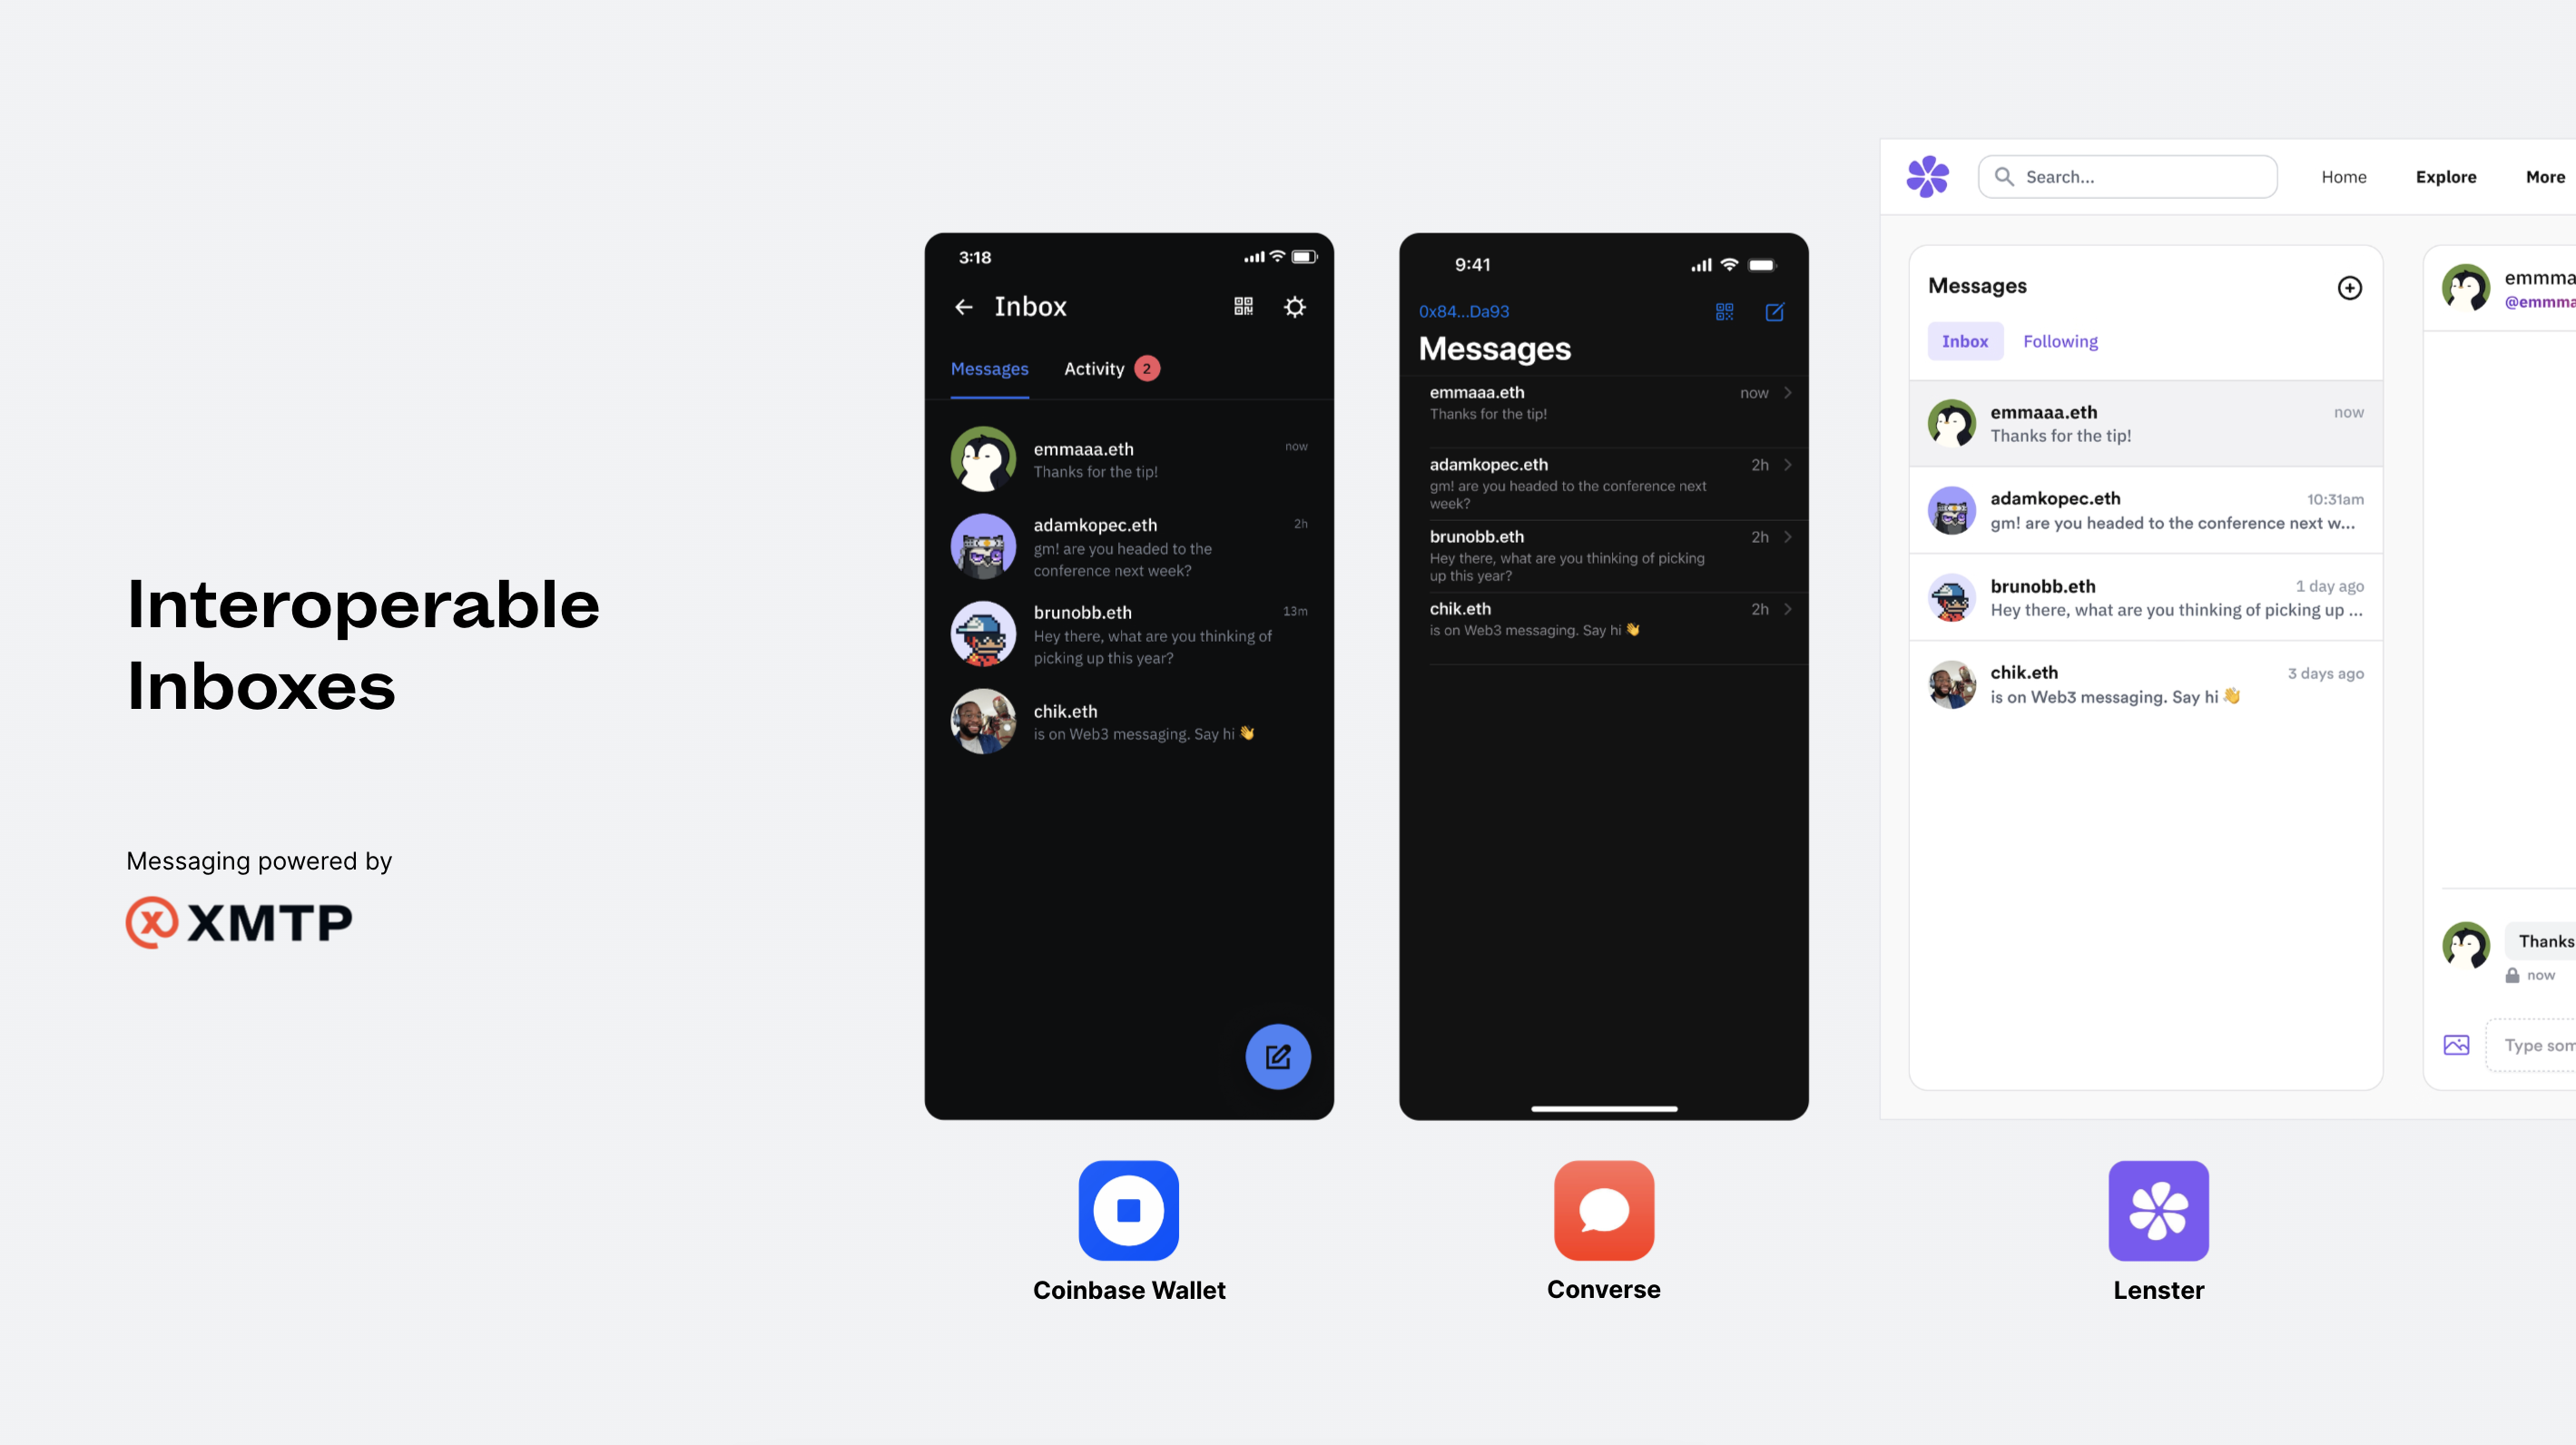
Open it up on whichever ports it displays for you, and you should see a simple app with a button that says “Connect Wallet”.
Connect an Etherium supported wallet i.e. Metamask, and you should see a new button called “Connect XMTP” appear. Click it, and you’ll be prompted to sign a message in your wallet.
Those two steps could be combined into one for ease of use, but we’ve kept them separate here to show you how it works under the hood.
That’s it! You’re authenticated and connected. You can now send messages to wallet addresses, and they’ll be able to see them in real time.
How it works
The Dynamic integration
Take a look in App.tsx and you’ll see that things get wrapped in DynamicContextProvider. This makes sure that Dynamic is available to your components. If you check the import for this provider at the top of the file, you’ll see it’s imported fromsdk-react-core. This is important.
The -core signifies that we are using the modular version of the SDK, where you pick and choose which chain/wallet providers you want to import and thus keep the bundle size as small as possible.
This is why you’ll also see an EthereumWalletConnectors import, which is the Ethereum wallet connector from Dynamic. It’s passed in through the settings prop on the DynamicContextProvider, like this:
Home component, where you’ll find a lot of different XMTP functionality If you want to learn more, the docs detail the entire SDK and methods available: https://xmtp.org/docs/build/get-started